


Starting New Project Locally
1 - First step to initiate a wordpress project is by downloading the latest Wordpress CMS framework form their official site.
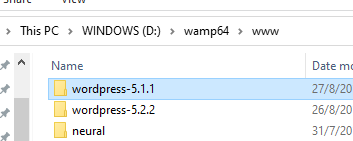
Download Wordpress Latest2 - Once downloaded, extract the folder and place it inside your local server software (Wamp, Xampp & etc).
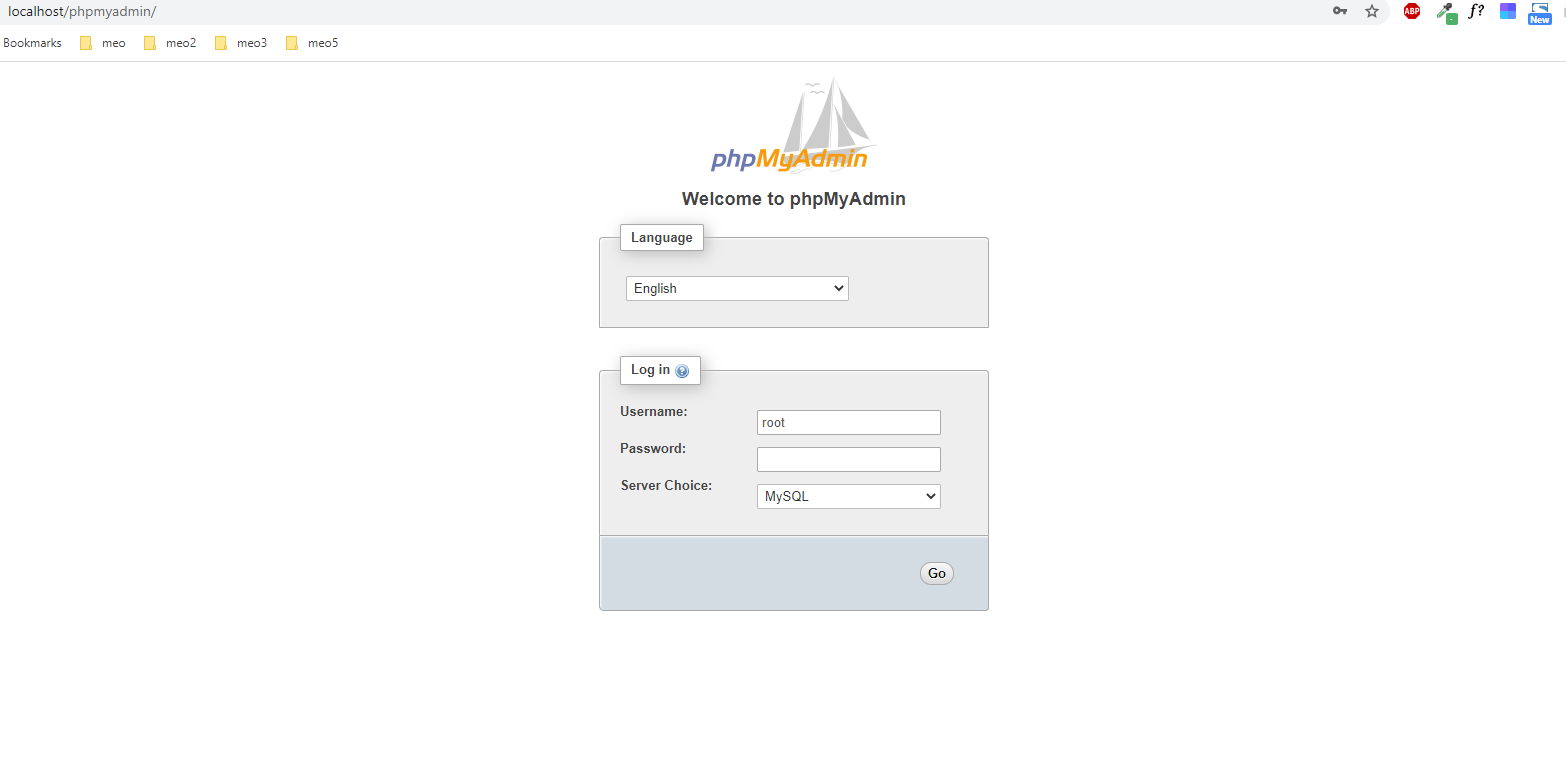
3 - Before continue with Wordpress setup wizard, we need to create a database in Phpmyadmin. Usually Phpmyadmin is accessible by http://localhost/phpmyadmin and login with default credential (Normally the default credentials is username : root, password : <"Empty"> )
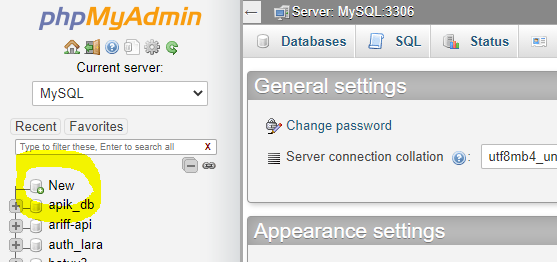
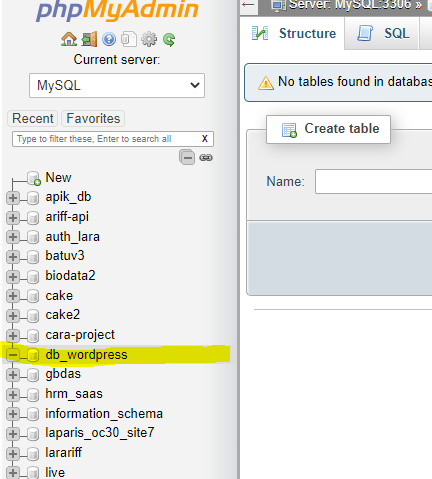
4 - After successfully logged into Phpmyadmin, head to "New" button
5 - Enter the database name that you want to use with Wordpress (any name & better start with "db_" prefixes) and click "Create" button.

6 - Once created, you can see the database name created will be on the left panel
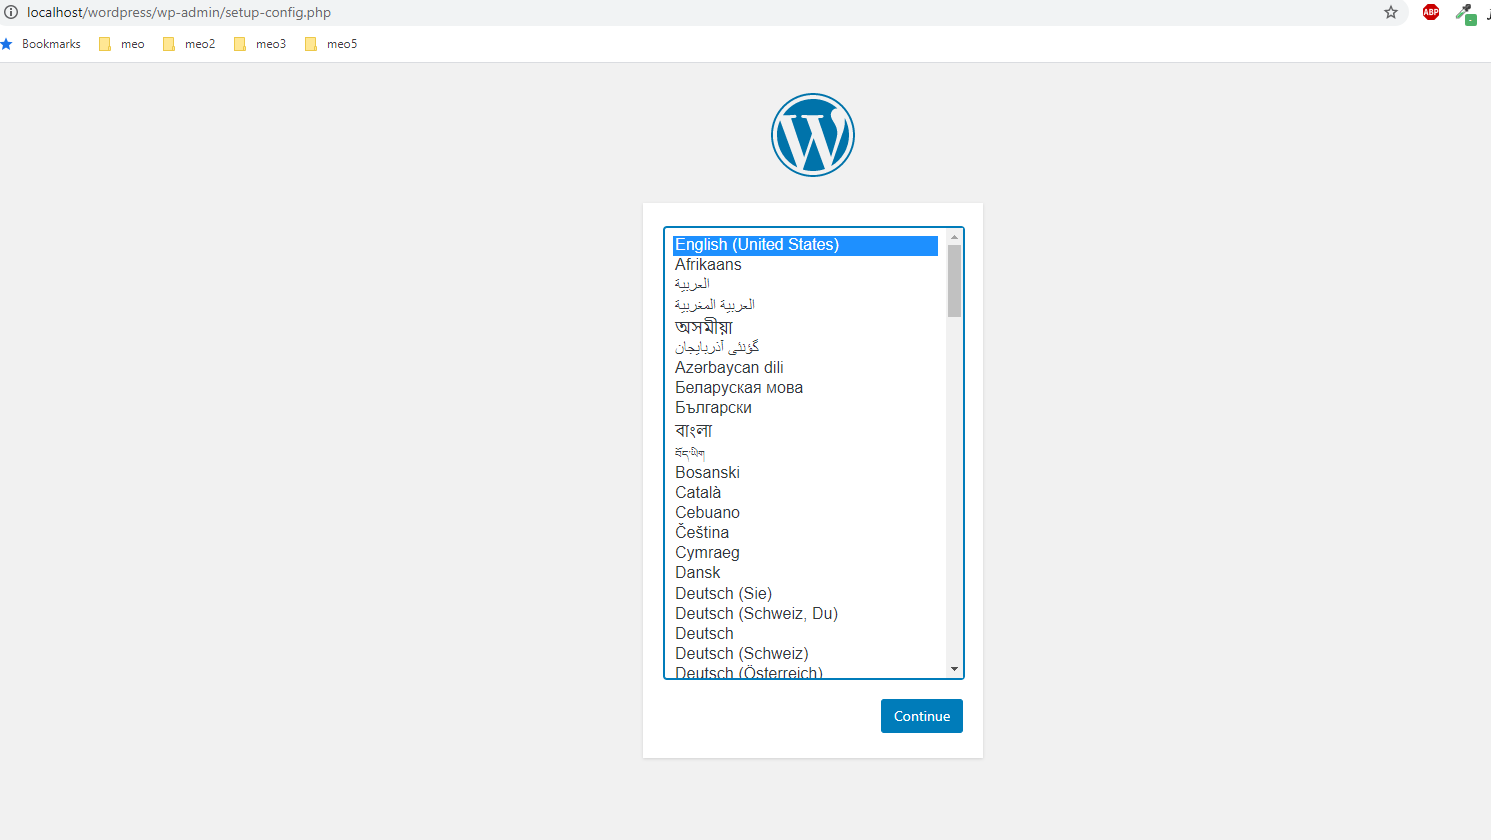
7 - After database creation completed, you can start accessing your wordpress project in browser to start the setup wizard. In this demo the url link is http://localhost/wordpress. If everything are correct, you will be greeted with language selection & click "Continue" to proceed.
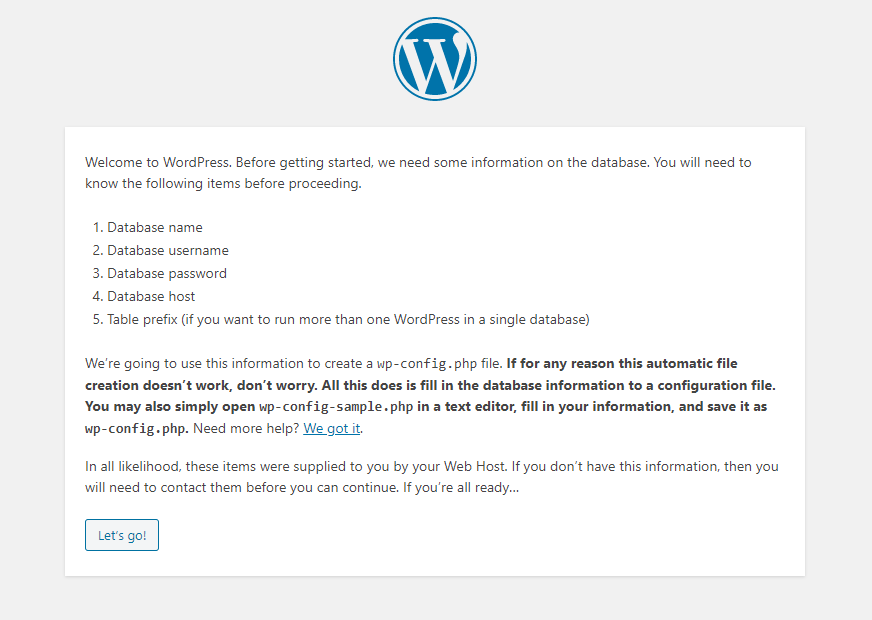
8 - Wordpress will start with explanation & prerequisite items needed. Just click "let' s go!"
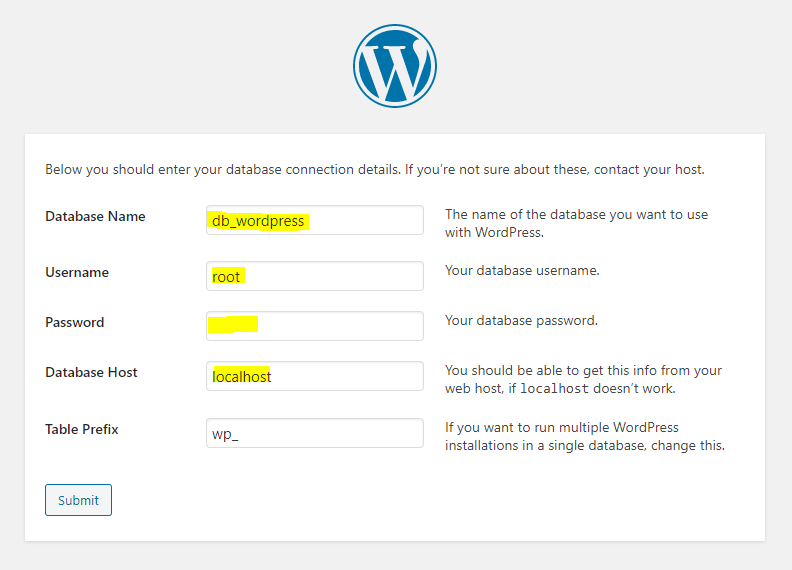
9 - Fill the field of "Database Name" with the database name we created in Phypmyadmin just now, fill "Username" & "Password" as we have in step 3 and let "Database Host" & "Table Prefix" as default. Finally click "Submit" button.
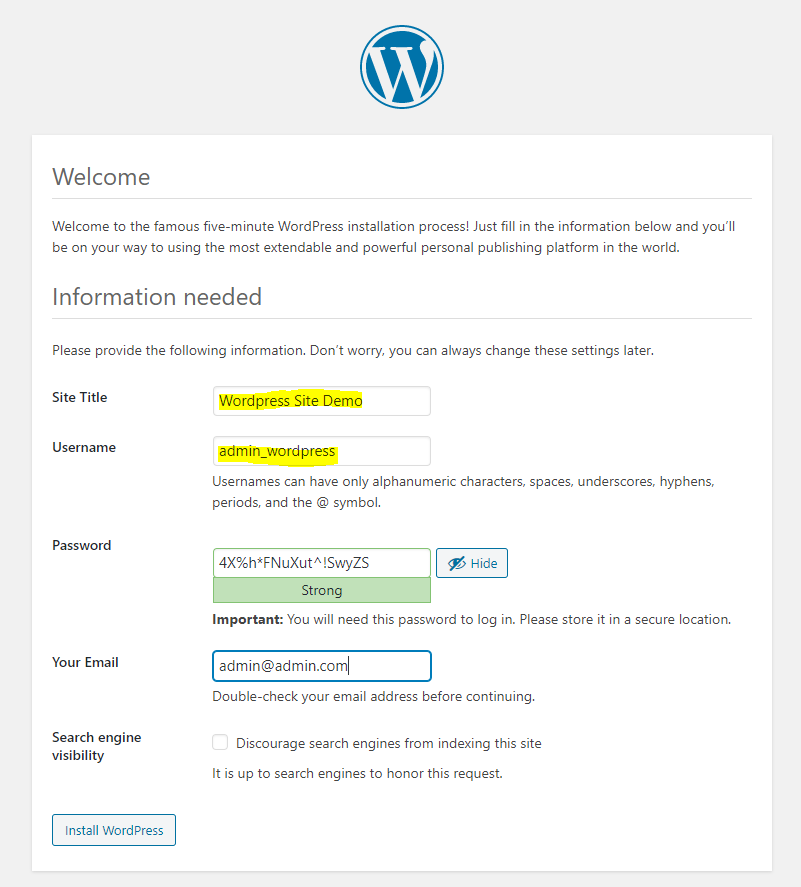
10 - After clicking "Install Wordpress now" you will be navigated to a form of "Information needed". Fill the "Site Title" field with the title of website you want to create and create "Username" & "Password" (for Admin account & accessing Admin module). Finally click "Install Wordpress" to proceed with installation.
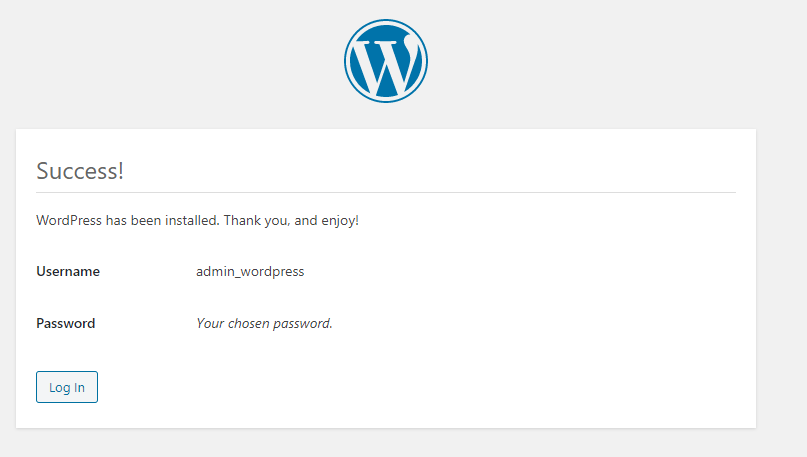
11 - After installation completed, you will be greeted with this page and click "Login" to login to Admin Module page.
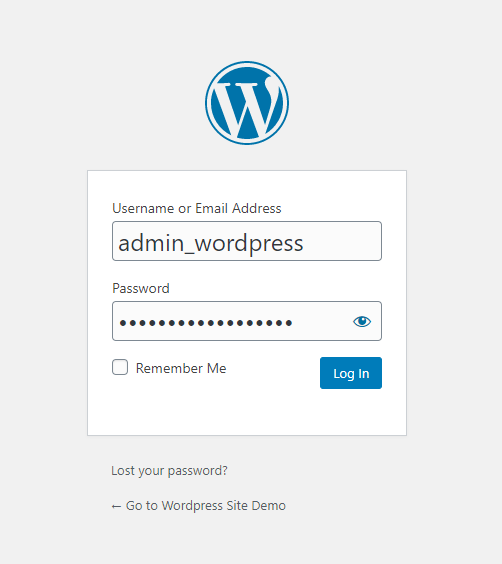
12 - Login with the admin account credentials that you set just now.
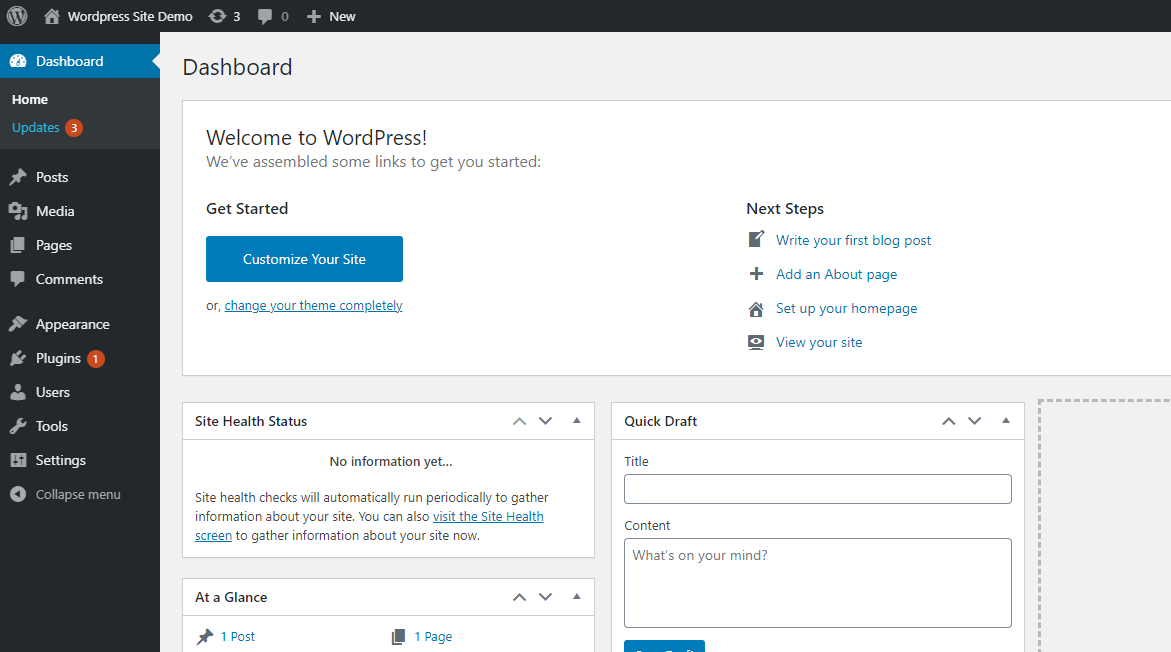
13 - Once you logged in, you will be navigated to admin module dashboard page. In this page, you can start manage the content or install any template you want.